|
|
Tip #02: Populating a Dr. Boogey / Dr. Boogie
(quick photo-tutorial)
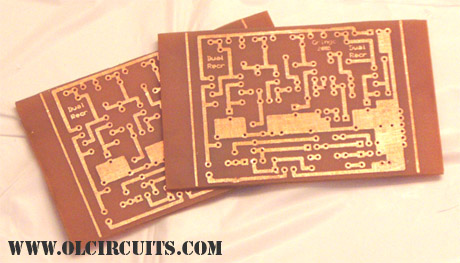
You begin with an etched and drilled PCB and you're looking at the
Dr. Boogey layout from this
site. Make sure you have your board oriented correctly before populating it. Also, have the
resistor and capacitor ID chart included in your kit in front of you. Looking at the hi-rez
photograph (click on third picture) of a populated Dr. Boogey board will also help you
determine where the components belong.
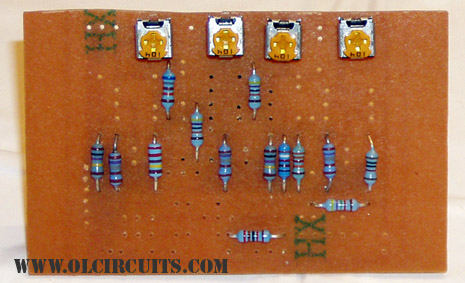
Resistors and trim pots are in place.
All components are now soldered in place. Watch the polarity of the electrolytic capacitors
(the blue "can" shaped ones). Layouts tend to show where the positive lead (longer lead)
goes, but capacitors are often distinguished on the negative side (dark stripe with "-"
running down it.) Just look twice before soldering.
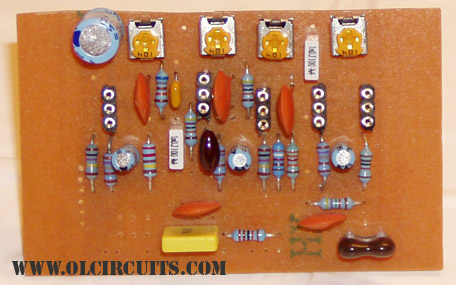 click the picture for a high-resolution version
Questions are always welcome!
|