|
Tip #01: Populating a Tonepad Tube Screamer
(quick photo-tutorial)
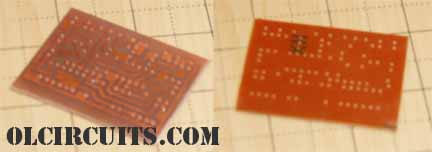
You begin with an etched and drilled PCB and you're looking at the
Tube Screamer PDF
from Tonepad. Make sure you have your board oriented correctly before populating it. Also,
have the resistor and capacitor ID chart included in your kit in front of you.
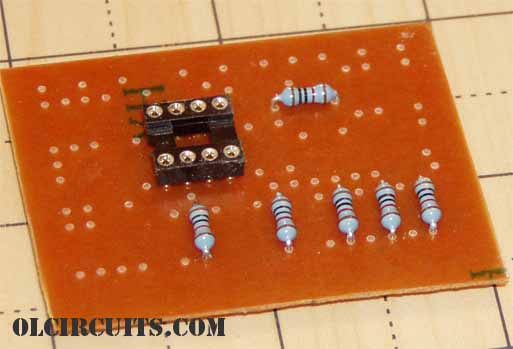
I place non-flexible parts such as IC sockets first. You can bend a resistor or
capacitor to make them fit, but not a socket. I've soldered the socket and the 10K resistors here.
All components are now soldered in place. Three of the four capacitors surrounding the
IC socket are very close to it. This is where the flexibility of the capacitor leads comes in handy.
By placing them after the socket is in place, you can allow a couple extra millimeters of lead length
and bend the leads a little bit to accomodate them.
Watch the polarity of the electrolytic capacitors (the blue "can" shaped ones).
Layouts tend to show where the positive lead (longer lead) goes, but capacitors are often
distinguished on the negative side (black stripe with "-" running down it.) Just
look twice before soldering.
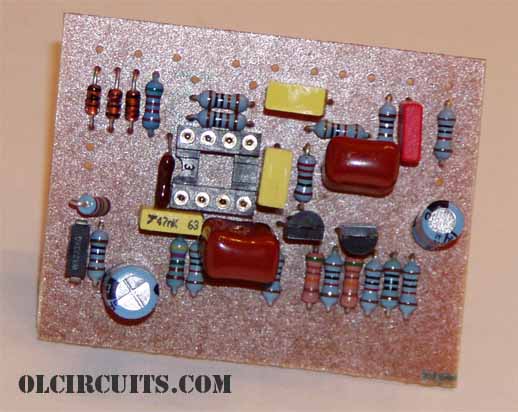 What are those pink resistors?
They're 1% metal-film like the blue ones, just a different color.
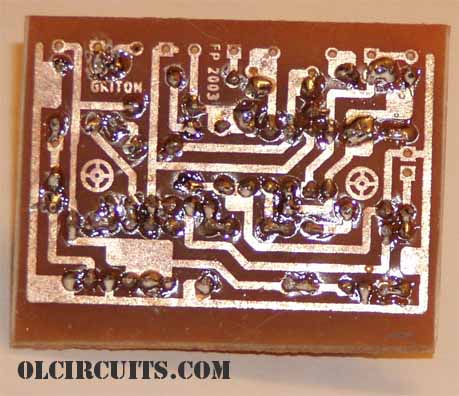
The wet-looking stuff around the solder joints is solder flux. It does not conduct or cause problems if left.
If you feel like removing it, there are chemicals on the market to remove this stuff (but a Q-Tip and rubbing alcohol works too.)
Questions are always welcome!
|